Contents
Introduction:
Splinters are minute, often inconspicuous foreign bodies that can embed themselves under the nail, causing discomfort, pain, and potential complications if left unaddressed. Defined as tiny fragments of materials such as wood, metal, or glass, splinters can easily infiltrate the delicate skin beneath the nail, creating an unsettling experience for those affected. This occurrence is not uncommon, especially in individuals engaged in activities involving manual labor, woodworking, or exposure to certain environments.
The purpose of this comprehensive guide is to provide an in-depth exploration of the intricacies surrounding the removal of splinters lodged under the nail. Understanding the nuances of identification, gathering the necessary tools, and executing proper removal techniques are vital components in ensuring a swift and effective resolution to this common but often underestimated issue.
We will delve into the visual indicators that help pinpoint the presence of a splinter, examining aspects such as size, shape, and color. Furthermore, we’ll explore the sensations that accompany a splinter, including pain or discomfort, as well as visible signs of inflammation, such as swelling or redness. Recognizing these symptoms becomes paramount in initiating timely and appropriate intervention.
Equipping oneself with the right tools is fundamental to successful splinter removal. The guide will detail the various types of tweezers suitable for the task, emphasizing the importance of proper sterilization to prevent infection. Additionally, the inclusion of a magnifying glass or light source, antiseptic solution, and sterile cotton swabs or gauze forms a crucial arsenal in preparing for the removal process.
Beyond merely addressing the removal of splinters, this guide places significant emphasis on pre-removal measures. Techniques for softening the skin, thorough handwashing, and the application of antiseptic solutions are integral aspects in preparing the affected area for a smooth extraction process. Each step is meticulously laid out to ensure the safety and well-being of the individual seeking resolution.
Identifying the Splinter:
The process of identifying a splinter beneath the nail involves a meticulous examination of visual cues and an awareness of accompanying sensations. Understanding these aspects is crucial for effective removal and preventing potential complications.
Visual Inspection:
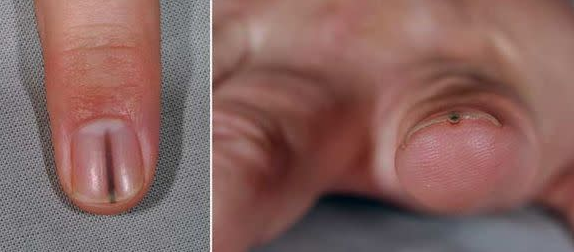
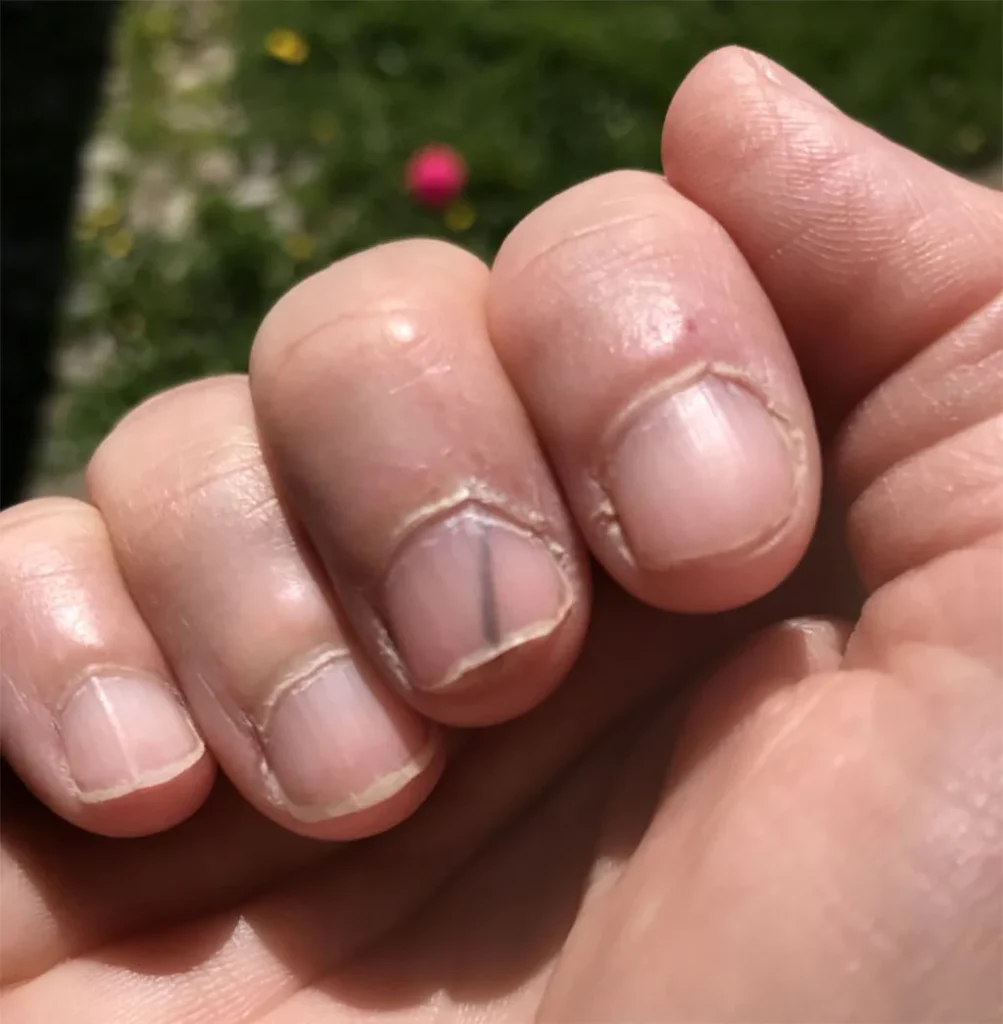
Splinters can be elusive, often requiring a keen eye to discern their presence. Observing the size, shape, and color of the splinter provides valuable information. A detailed examination allows individuals to gauge the nature of the foreign body and tailor the removal process accordingly. Additionally, determining the precise location of the splinter under the nail aids in strategizing the extraction approach.
Sensations:
Pain or discomfort is a common indicator of a splinter lodged beneath the nail. The guide will explore the varying degrees of discomfort associated with splinters and the nuances of the sensations experienced. Furthermore, signs of inflammation, such as swelling or redness, offer additional clues to the presence of a splinter. Recognizing these sensations early on is imperative for timely intervention and preventing further complications.
Gathering Supplies:
Preparing for the meticulous task of removing a splinter under the nail involves assembling a set of essential tools and supplies. This section focuses on the items needed for a successful and hygienic extraction process.
Tweezers:
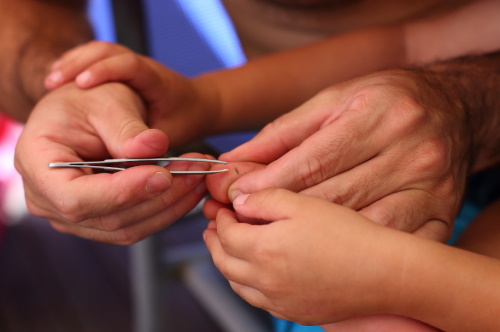
Choosing the right type of tweezers is a critical aspect of splinter removal. This guide outlines various tweezers and their respective advantages, ensuring individuals select the most suitable tool for the task at hand. Emphasis is placed on the importance of proper sterilization to minimize the risk of infection during and after the removal process.
Magnifying Glass or Light Source:
Enhancing visibility is paramount during the delicate procedure of splinter removal. The inclusion of a magnifying glass or a reliable light source aids in illuminating the affected area, allowing for a clearer view of the splinter and precise maneuvering during extraction.
Antiseptic Solution:
Maintaining a sterile environment is essential to prevent infection. This section discusses the significance of using an antiseptic solution to clean the area around the splinter before and after removal. Proper application techniques are highlighted to ensure thorough cleansing without causing additional discomfort.
Cotton Swab or Sterile Gauze:
Aftercare is a crucial component of the removal process. This guide recommends the use of a cotton swab or sterile gauze for applying antiseptic solutions and protecting the wound post-extraction. Choosing the right materials and employing proper techniques contribute to a hygienic and effective aftercare routine.
Preparing for Removal:
Before undertaking the delicate task of removing a splinter under the nail, thorough preparation is essential to ensure a smooth and successful extraction process. This section outlines the steps and considerations involved in preparing both the affected area and the individual for the impending removal.
Wash Hands Thoroughly:
Maintaining cleanliness is paramount in preventing additional complications. Proper hand hygiene is emphasized, detailing the importance of washing hands thoroughly before initiating the removal process. This step minimizes the risk of introducing bacteria into the wound and aids in creating a sterile environment for the procedure.
Soften the Skin:
Softening the skin around the splinter is a key preparatory step. This guide provides insights into different techniques, such as warm water soaks and the use of Epsom salt, to soften the skin effectively. Softening not only eases the extraction process but also reduces the likelihood of causing further injury or discomfort during removal.
Cleaning the Affected Area:
Ensuring the area around the splinter is clean is crucial for preventing infections. The guide instructs individuals on the proper application of antiseptic solutions, emphasizing gentle cleansing without exacerbating pain or irritation. This step lays the foundation for a hygienic and safe splinter removal process.
Techniques for Splinter Removal:
The successful removal of a splinter under the nail involves employing precise techniques to minimize pain, discomfort, and the risk of complications. This section provides detailed insights into various methods, ensuring individuals can choose the most suitable approach based on the nature of the splinter and their comfort level.
Using Tweezers:
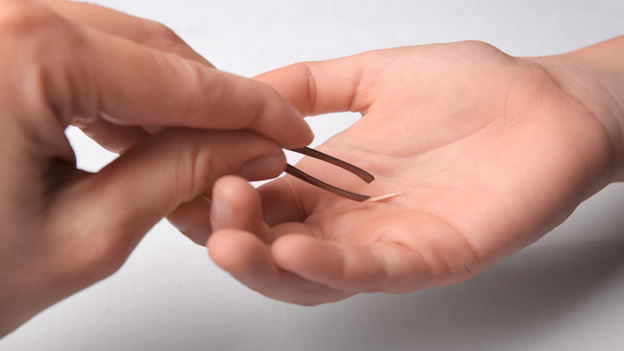
Tweezers are a common and effective tool for splinter removal. This guide explores different grasping techniques, emphasizing steady hand movements to avoid further injury. It provides practical tips on using tweezers safely and efficiently, addressing the nuances of extracting splinters embedded under the nail.
Sterilizing Tweezers during the Process:
Maintaining a sterile environment is crucial during splinter removal. This section highlights the importance of sterilizing tweezers before and during the extraction process to minimize the risk of infection. Practical guidelines for safe sterilization methods are provided, ensuring the tools used remain free of contaminants.
Alternatives to Tweezers:
In certain situations, alternatives to tweezers may be preferred or necessary. This guide explores alternative methods such as the glue method and the needle or safety pin method. Each alternative is explained in detail, offering individuals options based on their comfort level and the specific characteristics of the splinter.
Seeking Professional Help:
For complex cases or when DIY methods prove challenging, seeking professional medical assistance is advisable. This section outlines the signs indicating the need for professional help and encourages individuals to consult healthcare professionals when necessary. It underscores the importance of recognizing limitations and prioritizing one’s health.
Aftercare:
The aftercare phase following splinter removal is pivotal for promoting optimal healing, preventing infection, and ensuring a smooth recovery process. This section details the necessary steps and considerations for post-extraction care, emphasizing cleanliness and ongoing vigilance.
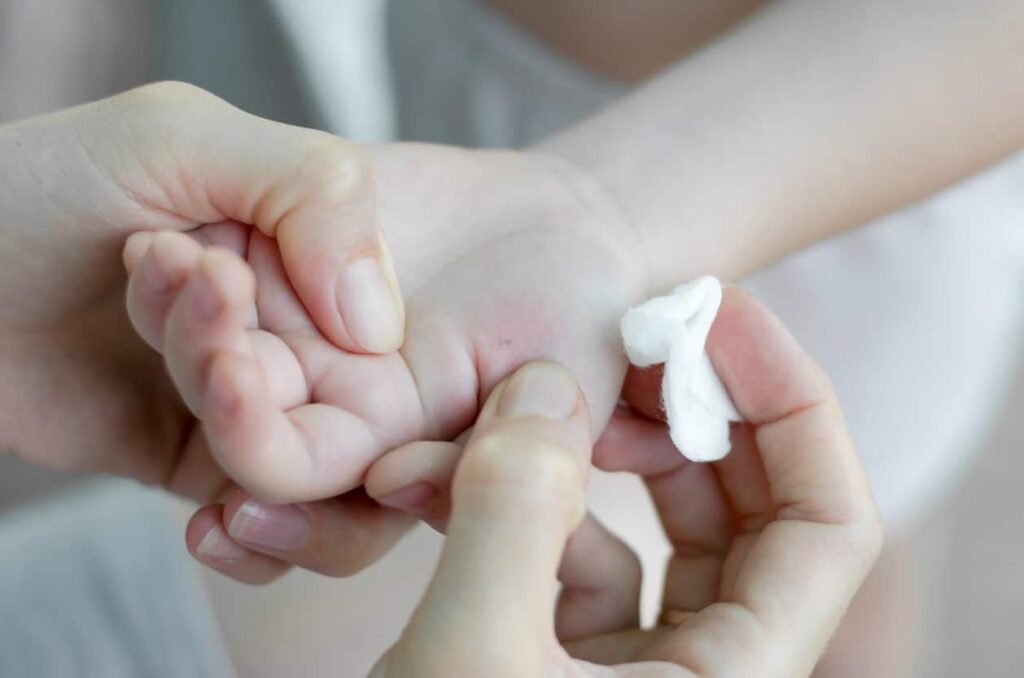
Cleaning the Wound:
Immediately after splinter removal, cleaning the wound is essential to prevent infection. This guide outlines the proper application of antiseptic solutions, emphasizing gentle and thorough cleaning. Understanding the importance of this step ensures that the wound is properly disinfected, reducing the risk of complications.
Applying an Antibiotic Ointment:
To further protect against infection and promote healing, the application of an antibiotic ointment is recommended. This section discusses the types of ointments available and provides guidance on their proper use. The goal is to create a protective barrier that supports the body’s natural healing processes.
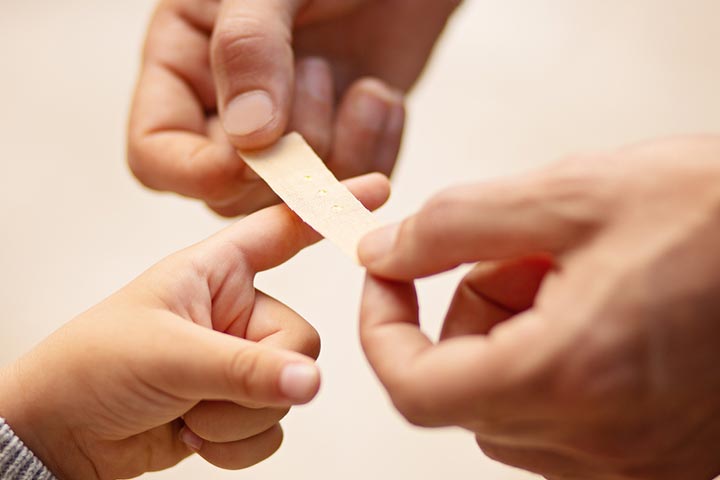
Bandaging the Wound:
Properly bandaging the wound is a crucial step in preventing external contaminants from entering and protecting the area during the initial stages of healing. This guide offers insights into selecting the appropriate bandage and provides instructions on the correct technique for secure and comfortable application.
Monitoring for Signs of Infection:
Vigilance in monitoring the wound for signs of infection is vital post-splinter removal. This section educates individuals on recognizing indicators such as redness, swelling, and pus formation. Understanding these signs empowers individuals to seek prompt medical attention if necessary, ensuring timely intervention in case of complications.
Prevention Tips:
Preventing the occurrence of splinters under the nail is crucial for long-term hand and nail health. This section offers practical and proactive tips to minimize the risk of encountering splinters, emphasizing the adoption of preventive measures in various settings and activities.
Wearing Protective Gear:
Engaging in activities that pose a risk of splinters, such as woodworking or handling rough materials, requires the use of protective gear. This guide advocates for the importance of wearing gloves to create a physical barrier, reducing the likelihood of splinters penetrating the skin. Similarly, closed-toe shoes protect the feet from potential splinter exposure.
Checking and Sanding Wooden Surfaces:
Wooden surfaces, often a common source of splinters, can be made safer through regular inspection and sanding. This section advises individuals to routinely check wooden objects, furniture, or tools for any protruding splinters. Sanding rough edges helps eliminate potential hazards, contributing to a safer environment.
Creating a Safe Environment:
Maintaining a safe and splinter-free environment is a holistic approach to prevention. This guide suggests regular cleaning routines to eliminate debris and potential splinter sources. Additionally, inspecting play areas, workplaces, or home environments for potential hazards ensures a proactive stance in preventing splinters.
Incorporating these prevention tips into daily practices serves as a proactive strategy to reduce the likelihood of encountering splinters under the nail. By embracing protective gear, checking and sanding wooden surfaces, and fostering safe environments, individuals can significantly minimize the risk of splinters, promoting long-term hand and nail health.
Conclusion:
As we conclude this comprehensive guide on handling splinters under the nail, a recap of key steps and an emphasis on the importance of prompt and effective splinter removal is paramount. This concluding section underscores the significance of the information presented and encourages individuals to integrate these insights into their approach to hand and nail care.
Recap of Key Steps:
Reflecting on the detailed exploration of identification, preparation, removal techniques, aftercare, and prevention tips, it is crucial to emphasize the interconnected nature of these steps. Each step plays a vital role in a holistic and effective approach to dealing with splinters under the nail. By following the guide systematically, individuals can navigate the process with confidence and precision.
Emphasizing the Importance of Timely Splinter Removal:
Timely removal of splinters is not merely about alleviating immediate discomfort; it is a proactive measure to prevent potential complications such as infection and prolonged discomfort. This section reinforces the idea that addressing splinters promptly contributes to overall hand and nail health, preventing further issues down the line.
Encouraging Regular Hand and Nail Care to Prevent Future Incidents:
The guide concludes by encouraging individuals to adopt regular hand and nail care practices. By incorporating preventive measures, such as wearing protective gear and maintaining a safe environment, individuals can significantly reduce the likelihood of encountering splinters. Cultivating habits that prioritize hand and nail health contributes to an ongoing strategy for preventing future incidents.
In conclusion, this guide serves as a comprehensive resource for individuals facing the challenge of splinters under the nail. By understanding the intricacies of identification, preparation, removal, aftercare, and prevention, individuals are empowered to navigate this common issue with confidence, promoting not only immediate relief but also long-term hand and nail well-being.